A Sound-Free Tutorial on Sugaring Your Legs
🤔 Introduction
Before beginning, make sure to give yourself enough time. Sugaring your legs- from the ankle to your knee- takes about 20-30 minutes, or slightly longer if you're still traveling over the learning curve. Don't worry, it is very much worth it!
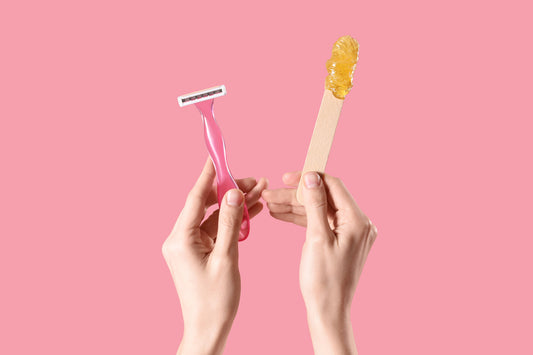
If you're transitioning from shaving, you will experience the following changes:
1. Your hair will become thinner after just the second or third session. Meaning you might be able to skip your hair removal routine altogether for weeks!
2. Instead of spending 10 minutes shaving every day- over an hour a week- you will spend 20 minutes every 2-3 weeks and have smooth skin that doesn't go away with the onset of goosebumps.
If you're changing over from waxing at home or going to appointments, you will experience the following changes:
1. Time-saving! Unlike other at-home waxing or sugaring, our Sugar Paste does not need to be heated.
2. For those going to the salon, you can have smooth skin whenever you want! Not when the salon can pencil you in. If you love your esthetician, you can take them out to lunch. This way you can keep on your clothes while still bonding- the best of both worlds!
Watched the Video? 📺
Great, let us talk about what you just saw.
 Notice:
1.That the size of Sugar is a golf ball size.
2. As the Sugar is continuously applied, it warms and can be spread over longer distances.
3. The Sugar changes color as it's used over and over. This is caused from the dead skin cells it collects as the hair is removed.
4. The same piece of Sugar is used for the whole leg
 The Application:
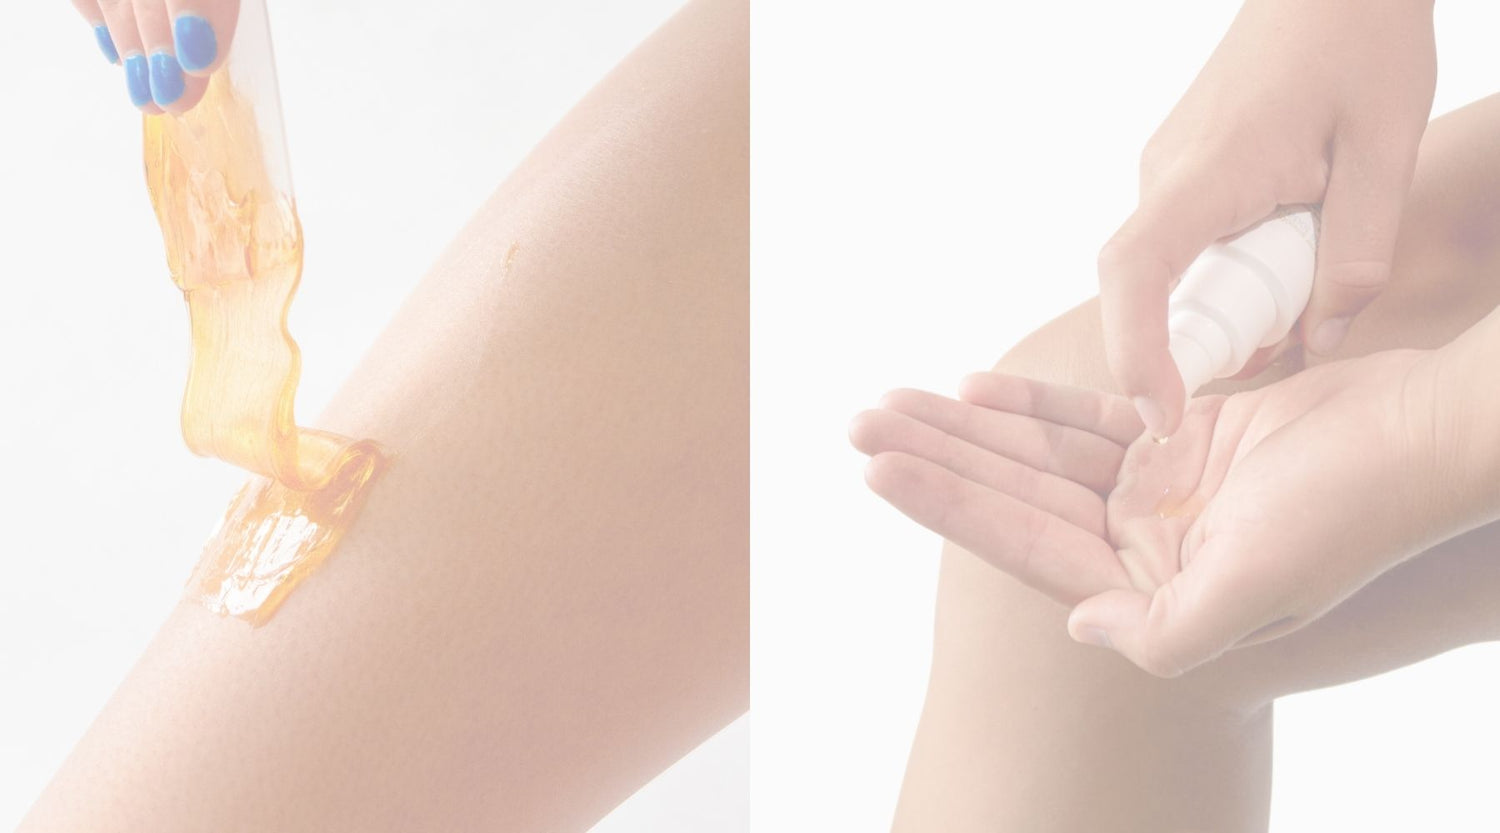
1. Before spreading the Sugar with the applicator, leave it on your skin for 10-15 seconds to naturally heat-up. If you're Sugar Paste is too firm, put the jar itself into a bowl of warm (not hot) water for 10 minutes to soften it. If it is too gooey, try putting it into the refrigerator for 10 mintues.
2. Apply against the direction of the hair growth, and remove in the same direction.
3. If the first pass does not pick-up all of the hair, the Sugar is gentle enough on your skin to do a second pass. You can also apply it in a different- try a diagonal- direction. This most common around the ankles.
4.Once you've finished your first leg, you can grab a new piece or keep using the same one if it is still picking up hair. If you choose the later option, wash the card off with warm water when finished
.
5. Finally, rub the skin with a warm washcloth to clean off any leftover Sugar. Then apply Soothing Mist or Soothing Solution to hydrate the skin
.
6.Enjoy the weeks of smooth skin!
TroubleShooting:
First, watch this video! This will give you a visual of how to successfully sugar the legs! Although the leg is easy to access, we suggest practicing sugaring on the inside of the wrist to master the flicking technique. Starting right off by sugaring on the leg without practicing will likely lead to bruising and here's why:
1. Poor Technique when beginning
2. Superficial Shin bone is more prone to bruising with poor technique
3. Lots of hair! Practicing and getting good at flicking on an area where there is a lot of hair will likely lead to pain and bruising if using poor technique.
If you feel you've mastered the technique but you're still having trouble removing hair from the legs, it is possible that the sugar was not able to pull out the shorter hairs as not all the hairs grow at the same rate.
You can wait a few days and sugar again to get the shorter hairs. One customer reported that if her legs weren’t completely smooth after sugaring, she would simply go over them with a razor and then they’d be smooth for several weeks until it was time to sugar again.


